Moving an injection mold to a new supplier is rarely a pure logistics job. The tool has to fit a different press, run on different auxiliary equipment, and make the same part it made before, usually without the people who knew its habits. Most transfer problems trace back to missing information: no process sheet, no reference samples, no record of the last repair.
This checklist covers what to collect before the tool leaves, what the receiving molder should check, and how to requalify parts so production restarts on a known basis.
Key Takeaways
- Collect documents and reference samples before the tool is moved. They are hard to obtain afterwards.
- Inspect and photograph the tool on both ends of the move, and record its condition before any repair.
- Check press compatibility early: clamp tonnage, platen size, tie-bar spacing, locating ring, nozzle radius, ejector pattern, cooling and hot runner connections.
- Requalify with a trial run, a dimensional comparison against reference samples, and a new approval. A tool that ran well elsewhere still needs to prove itself in the new setup.
- Settle ownership and release in writing before anyone books a truck, and ask whether the tool depends on the old supplier’s frame or controller.
- Give every handover item a named owner. A copy-ready handover list is below.
Why Mold Transfers Go Wrong
A mold’s output depends on the tool, the resin, the press and the process window together. When the tool moves, only one of those comes along. Typical issues after a transfer:
- The tool needs repairs nobody had recorded, such as worn shut-offs, damaged ejector pins or leaking water lines.
- The old process settings don’t translate directly to a different press or screw size.
- The last approved drawing revision isn’t clear, so "matching the old parts" has no fixed target.
- Hot runner controllers, cooling circuits or core-pull hydraulics need different connections.
None of these is unusual. They become expensive when they are discovered after the first production order is due.
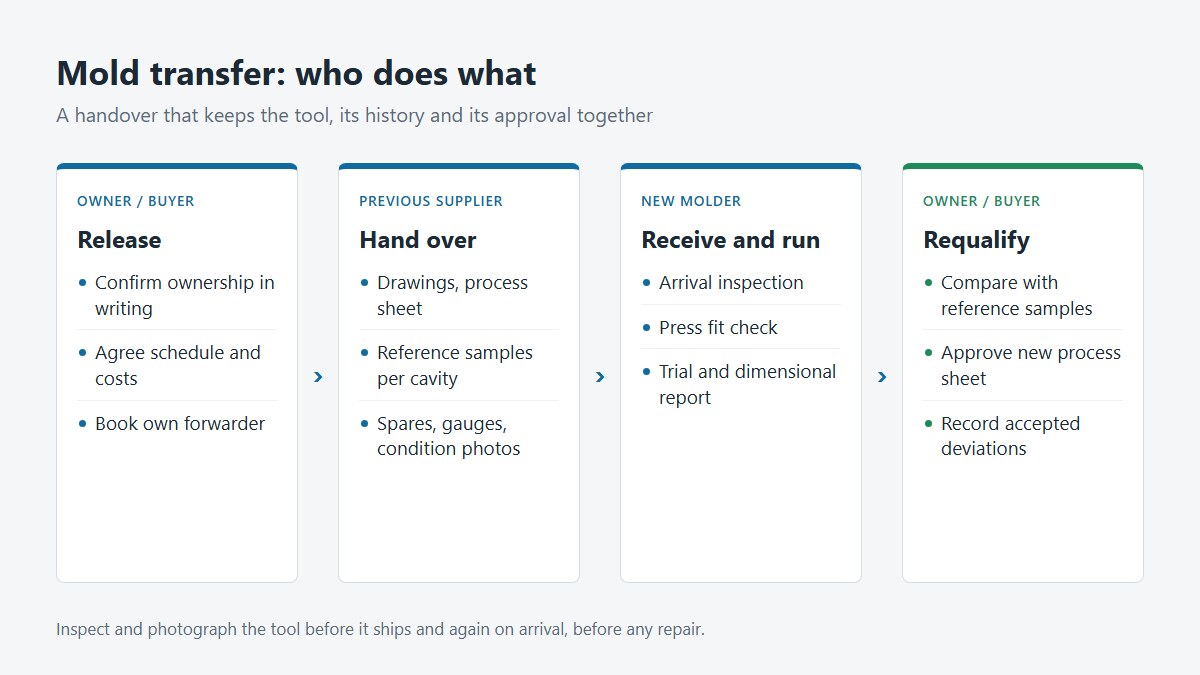
First: Ownership, Release and Whether the Tool Can Move
Before any technical work, settle three questions:
- Who owns the tool, and is it paid for? Get the previous supplier’s written confirmation that the tool, its inserts and its spare parts are yours and will be released. Disputes over unpaid tooling or "shared" ownership stop transfers more often than technical problems.
- Does the tool depend on the old supplier’s equipment? Some tools are inserts that run in the supplier’s own master frame (a unit-die or quick-change system), or rely on a hot runner controller that belongs to the shop. Ask before you plan the move, because a standalone mold base or a new controller may be needed.
- Who arranges transport? Using your own forwarder keeps the schedule in your hands and avoids the old and new suppliers depending on each other.
Agree the schedule too: build a stock of parts to cover the gap, because the transfer, trial and approval take time even when everything goes well.
Before the Tool Leaves: What to Collect
| Item | Why you need it |
|---|---|
| Current part drawing and 3D model, with revision | Fixes the target the transferred tool must meet |
| Mold drawings or at least a tool layout | Needed for repair, maintenance and press fit |
| Process sheet from the last good run | Starting point for the new process window |
| Resin grade, supplier and color | Shrinkage and flow depend on them |
| Approved reference samples, per cavity | Physical comparison for requalification |
| Last dimensional report | Shows how the tool performed before the move |
| Maintenance and repair history | Identifies known weak points |
| Shot count, if recorded | Indicates wear and remaining life |
| Hot runner and controller details | Zone count, connectors, heater ratings |
| Ownership confirmation | Avoids disputes about who may move or modify the tool |
| Spare inserts, ejector pins, springs, wear parts | Avoids waiting for spares on the first breakdown |
| Dedicated gauges and checking fixtures | Parts must be checked the same way as before |
If the previous supplier can’t provide something, write that down. A missing process sheet is manageable; a missing drawing revision needs a decision before any trial.
Tool Condition Check
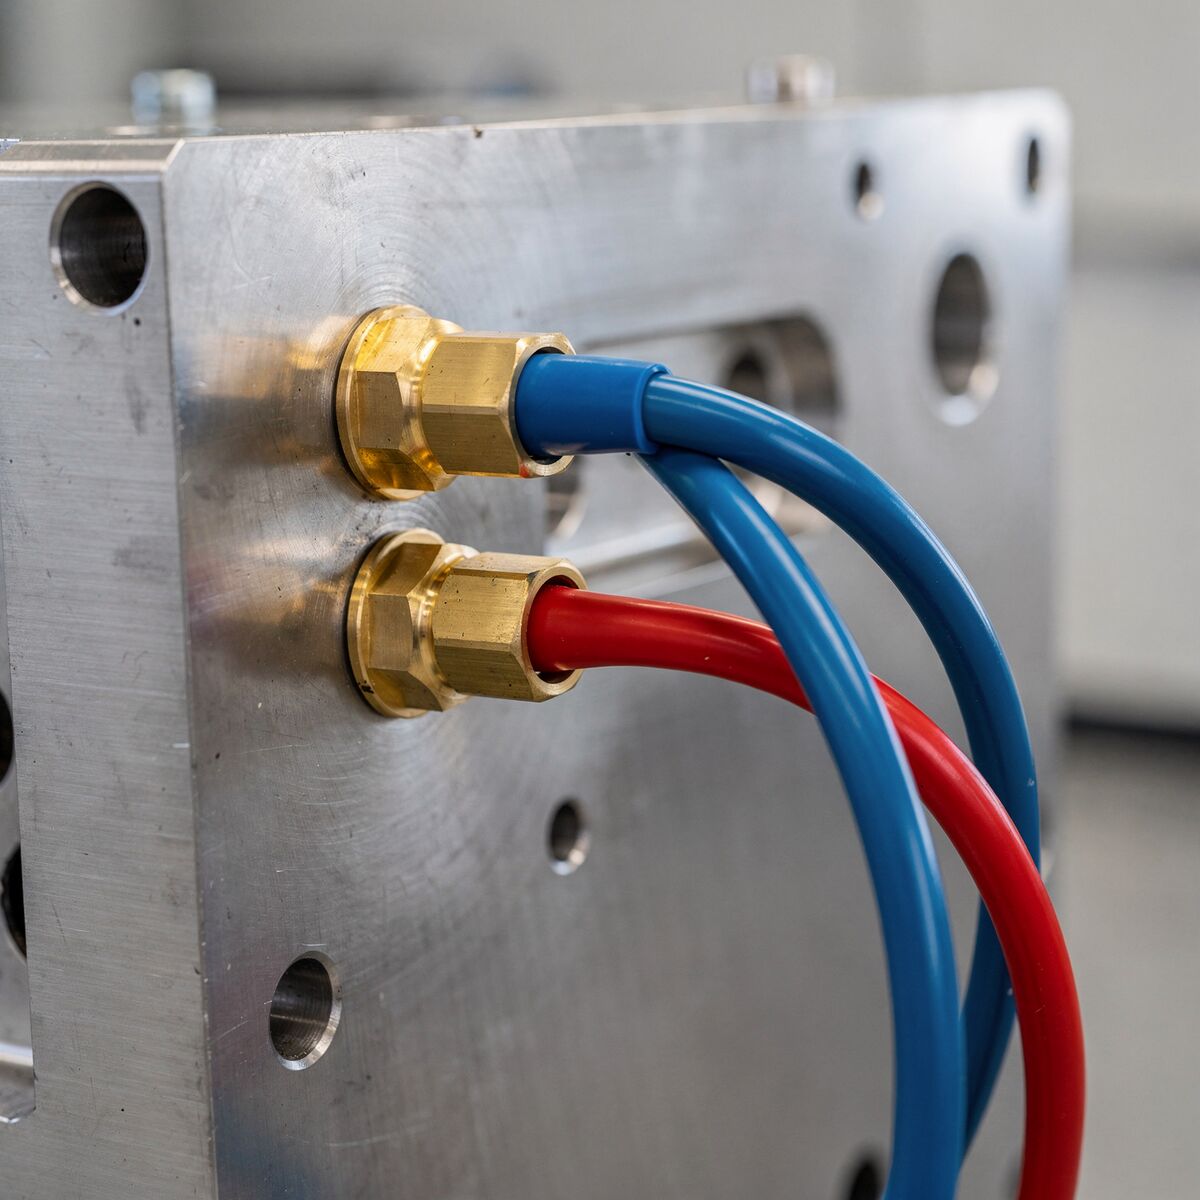
Before shipping, and again on arrival, the tool should be inspected and photographed:
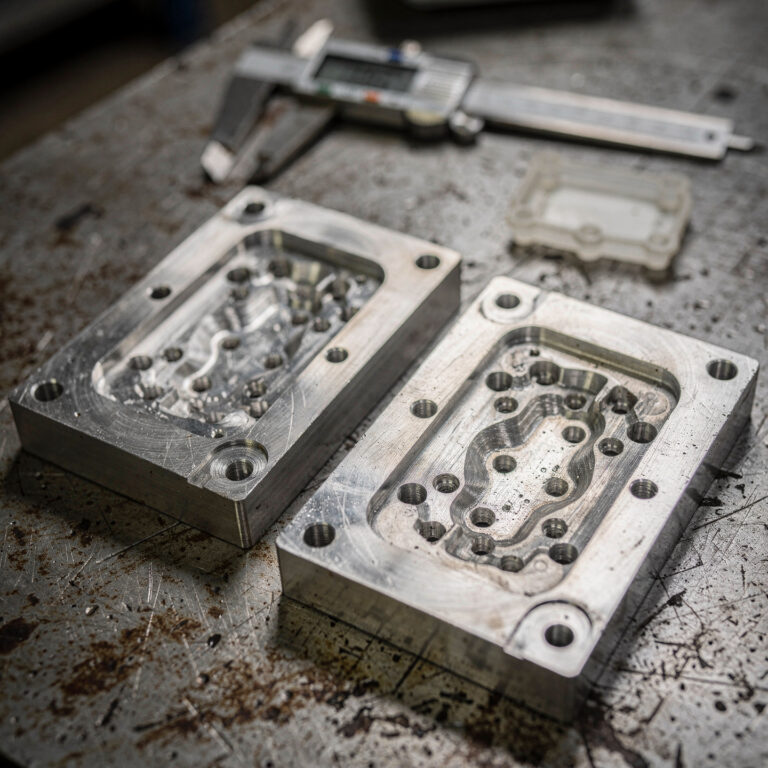
- Parting line and shut-off surfaces for wear or damage
- Cavities and cores for scratches, corrosion or polishing damage
- Ejector pins, sleeves and return pins for wear and free movement
- Slides, lifters and locks for wear and correct timing
- Cooling circuits for blockage or leakage, ideally with a flow or pressure test
- Hot runner zones for heater and thermocouple function
- Venting for blockage
- Eye bolts, lifting points and safety straps
Record what you find before anything is repaired. That record separates pre-existing condition from anything caused by shipping or the new setup.
Packing for the move
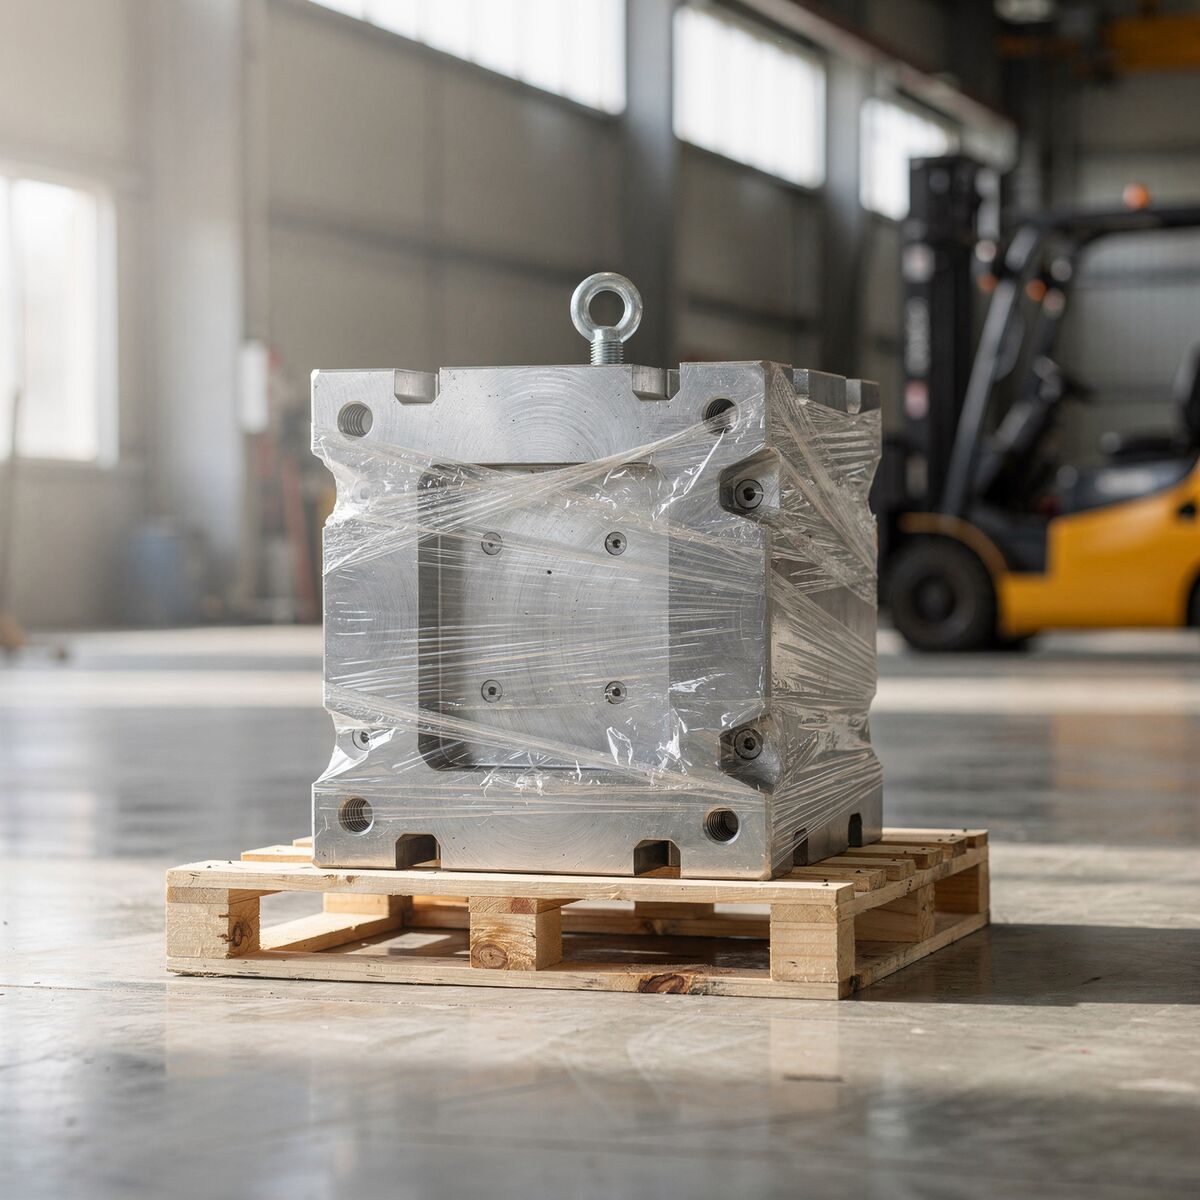
- Drain the cooling circuits and blow them dry, so water does not corrode the channels in transit.
- Coat cavities, cores and parting surfaces with rust preventive and protect them from contact.
- Fit the mold safety strap so the halves cannot open, and lift only by the designed lifting points.
- Pack hot runner connectors, cables and small spares in a labeled box that travels with the tool.
- For export, solid-wood crates and pallets need ISPM 15 treatment and marking; packaging made wholly of plywood or other processed wood is exempt. Molds for plastics injection are classified under HS subheading 8480.71; your forwarder will confirm the full code and documents for the destination.
- Insure the shipment for the replacement value of the tool, not its book value.
Press and Equipment Compatibility
The receiving molder should compare the tool against the intended press before the tool arrives:
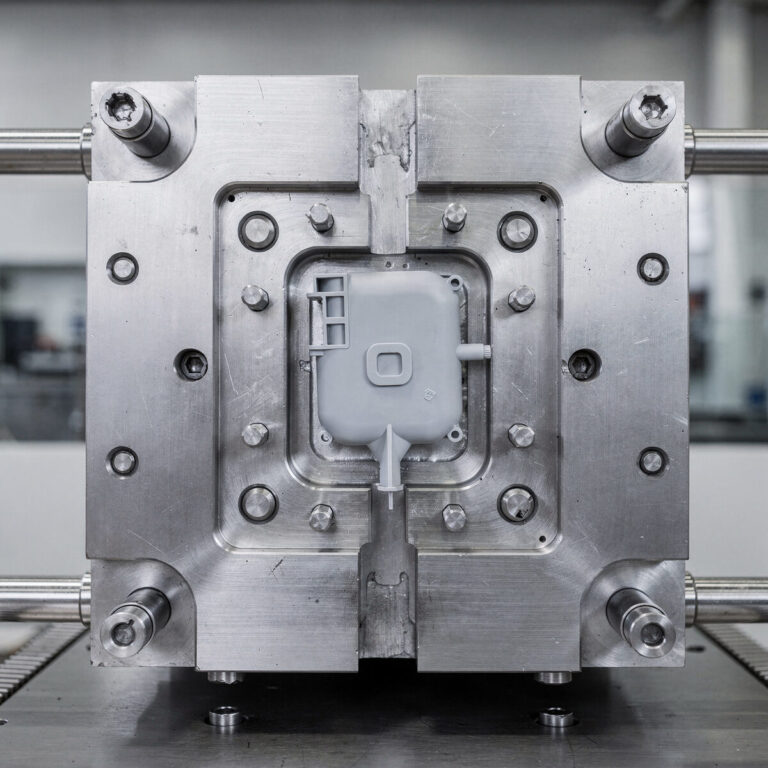
- Clamp tonnage relative to projected area and resin
- Mold dimensions against platen size and tie-bar spacing
- Shut height range and opening stroke
- Locating ring diameter and sprue bushing radius
- Ejector pattern and knock-out rod positions
- Shot size relative to the press barrel
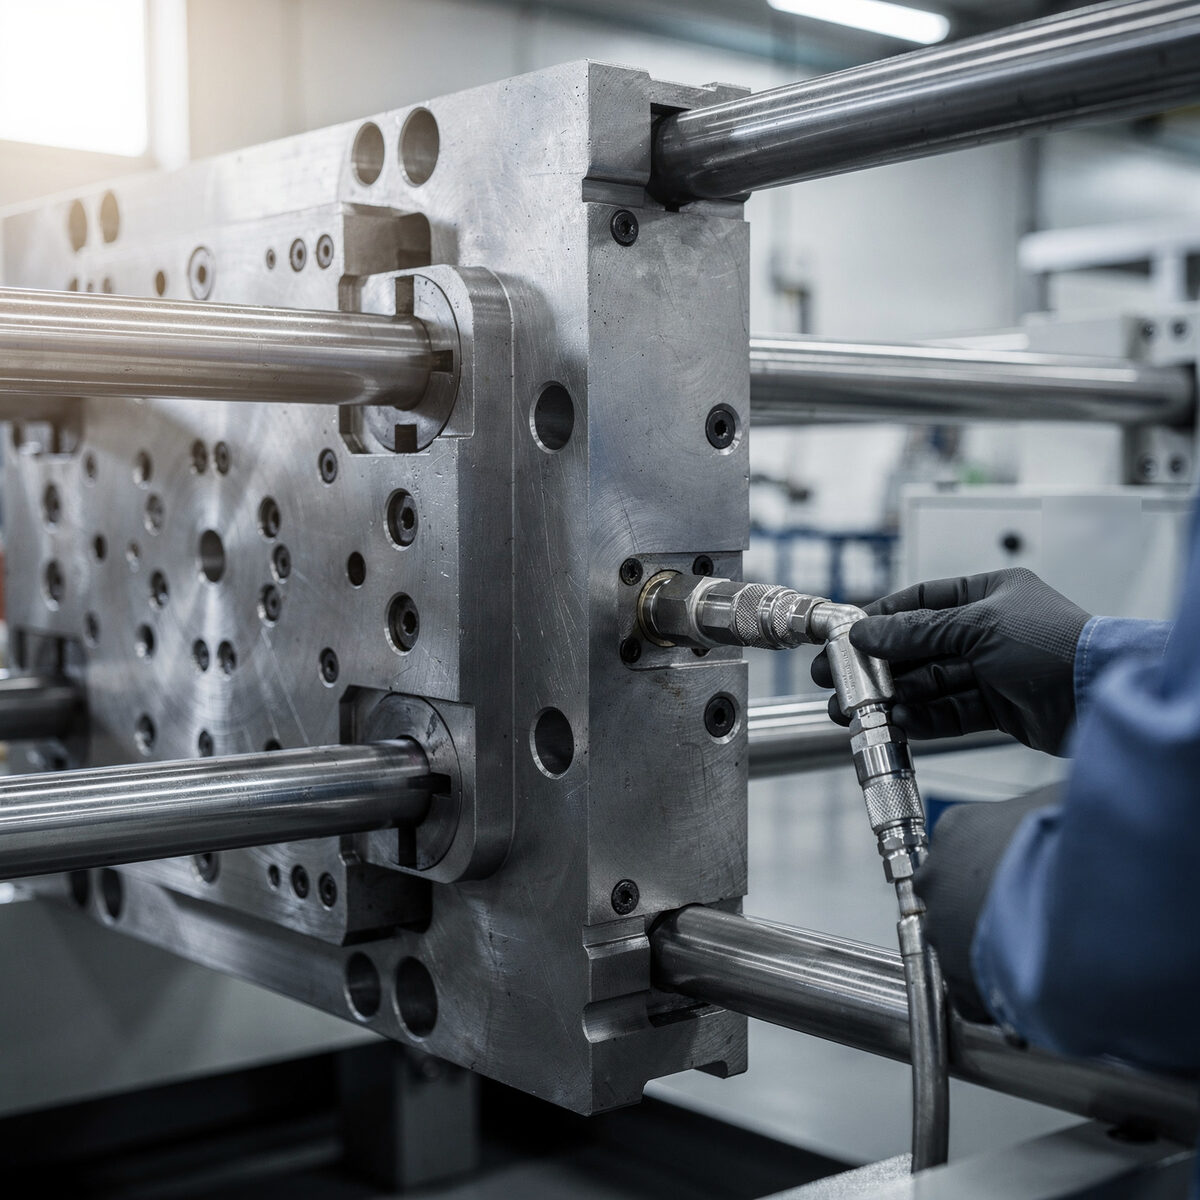
- Cooling connections, water temperature control and any hot runner controller
- Core-pull hydraulics or pneumatics, if the tool needs them
Adapters can solve some mismatches, but they should be planned, not improvised on the trial day.
Requalifying Parts After the Move
Treat the first runs after a transfer as a controlled requalification:
- Trial run. Start from the old process sheet, then adjust for the new press. Record the final settings.
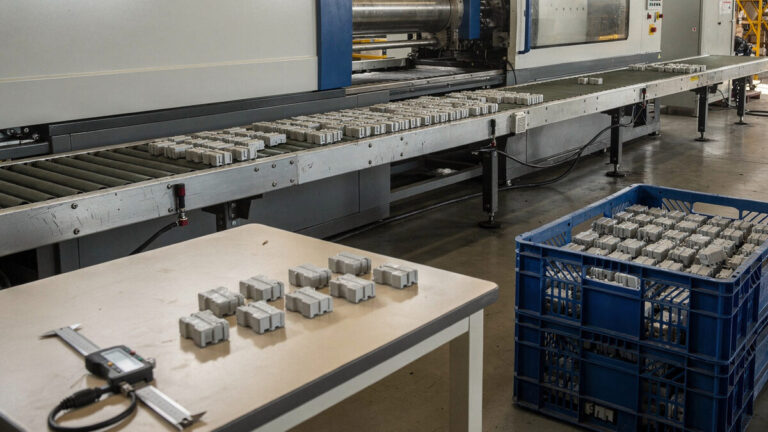
- First-off inspection. Measure the agreed critical features on parts from every cavity.
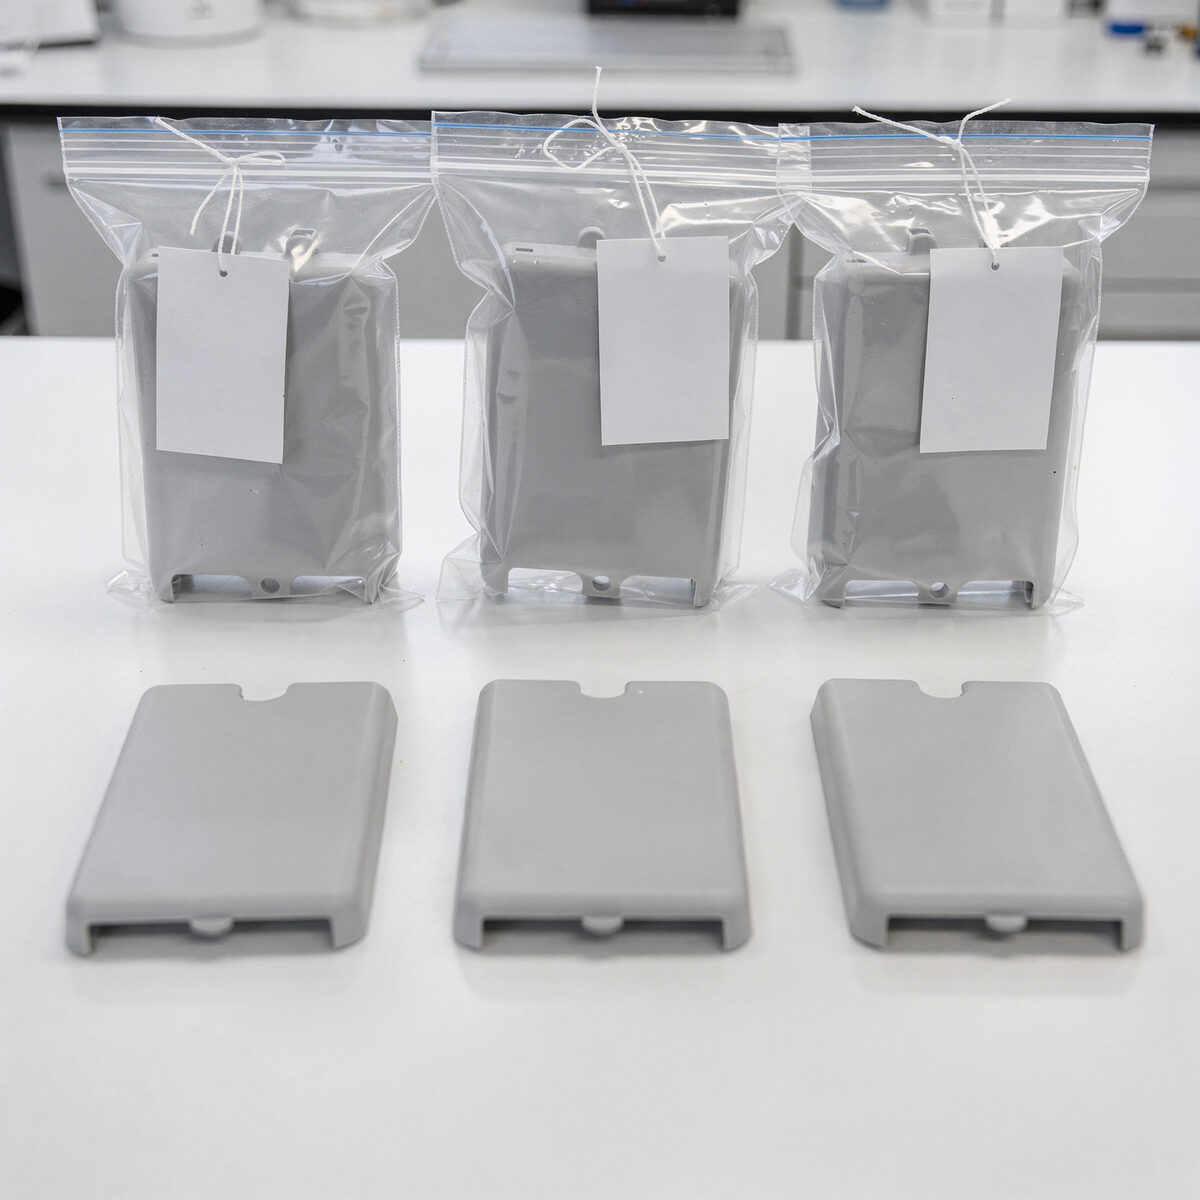
- Compare with reference samples. Dimensions, appearance and fit against the samples approved before the move.
- Assembly check. Fit the parts with mating components where function depends on it.
- Short run. A longer run than a single trial, to see whether dimensions and appearance stay stable as the tool reaches temperature.
- Approval. Sign off the new process sheet and new reference samples, and record any accepted deviation.
If your industry requires formal process requalification or change notification to your own customers, plan that paperwork alongside the trial.
A Handover List You Can Copy
| Item | Provided by | Checked by |
|---|---|---|
| Written ownership and release confirmation | Owner and previous supplier | Owner |
| Part drawing and 3D model, current revision | Owner | New molder |
| Mold drawings or tool layout | Previous supplier | New molder |
| Process sheet from last good run | Previous supplier | New molder |
| Reference samples, per cavity, labeled | Previous supplier | Owner |
| Last dimensional report | Previous supplier | Owner |
| Maintenance history and shot count | Previous supplier | New molder |
| Spare parts, gauges, hot runner items | Previous supplier | New molder |
| Condition photos before shipping | Previous supplier | Owner |
| Arrival inspection and photos | New molder | Owner |
| Trial report and dimensional comparison | New molder | Owner |
| Approved new process sheet and samples | New molder | Owner |
Move the Tool or Build a New One?
Moving is usually cheaper and faster than a new tool, but not always. A new tool deserves a look when:
- the existing tool is near the end of its life, or needs repairs close to the cost of a replacement;
- the part design needs to change anyway;
- the tool depends on equipment that does not move with it;
- the documents and samples are missing and the original approval cannot be reconstructed.
When the tool is in good condition and its history is complete, transfer is normally the better route.
Common Mistakes
- Moving the tool before collecting samples. Without reference parts, "the same as before" has no physical definition.
- Repairing before recording. The first inspection after arrival should document condition before any work.
- Assuming the old settings will work. A process sheet is a starting point; different screw sizes and heating behave differently.
- Changing the design during the transfer. If the part needs a change, make it a separate, documented step after the tool runs in its original form.
How Othala Handles Existing Tools
When a customer brings an existing mold, we start with a transfer review: tool condition, dimensions, interfaces, resin history and available trial records. A tool that ran elsewhere still needs sample acceptance in our setup. We run trials with the agreed resin, review dimensions, fit and appearance before approving repeat production, and record any deviation and the action needed.
Quality work runs under our ISO 9001:2015 and ISO 13485:2016 certified quality management system.
Frequently Asked Questions
How long does a mold transfer take?
It depends on the tool’s condition and on how complete the documents are. A well-documented tool in good condition may need one trial and a short approval run. A tool that needs repairs, or that arrives without a process sheet or drawing revision, needs more time for inspection, repair and process development.
Will parts from the new molder be identical?
They should meet the same drawing and acceptance criteria, but small differences in dimensions and appearance can occur with a different press and process. That is why requalification compares new parts with approved reference samples and the agreed tolerances, rather than assuming the transfer changed nothing.
Who is responsible if the tool needs repair after the move?
Agree it before the move. Pre-existing wear, damage during shipping and work needed to fit a new press are three different cases. A condition record made before shipping and on arrival makes the discussion factual.
Do I need the original mold drawings?
They help a lot with repairs and maintenance, but a transfer can still proceed without them. The receiving molder can document the tool’s key features during inspection. The part drawing and reference samples are more important for requalification.
Conclusion
A mold transfer succeeds when the tool arrives with its history: the drawing revision, the process sheet, reference samples, and a condition record. Check press compatibility before the tool ships, inspect it on arrival, and requalify parts against the samples you approved before the move. That turns a risky supplier change into a planned restart.
Request a DFM Review
Moving an existing mold or bringing a tool into new production?
Send us the part drawing, resin grade, tool details, process records and target quantities. Our engineering team can review the transfer, the tool interfaces and the requalification plan. See our injection molding services and production mold making, or request a quote.