An injection mold is accepted on the parts it makes, not on the steel. The trial is where a new tool proves it can fill, eject and hold the agreed dimensions with the agreed resin, and acceptance is the written decision that it has. When those criteria are vague, the project drifts into extra trial rounds, arguments about what was promised, and a production start that keeps moving.
This checklist covers what happens at each trial stage, what to inspect on the samples, and what to agree before the tool is released for production.
Key Takeaways
- Write the acceptance criteria before the tool is cut: drawing revision, resin grade, critical dimensions, cosmetic standard and sample quantity.
- Expect more than one trial on a new tool. T0 or T1 shows how the mold fills; later rounds confirm corrections.
- Separate tool corrections (the mold does not meet the agreed design) from design changes (you want a different part). They are priced and scheduled differently.
- Accept on records: a dimensional report on stated features, a process sheet and approved reference samples.
- Take samples from consecutive shots after the process has settled, from every cavity, with the cavity marked.
- If you can’t attend, agree in advance what you will see on a video call and what the trial report must contain. A copy-ready trial record is below.
What a Mold Trial Is For
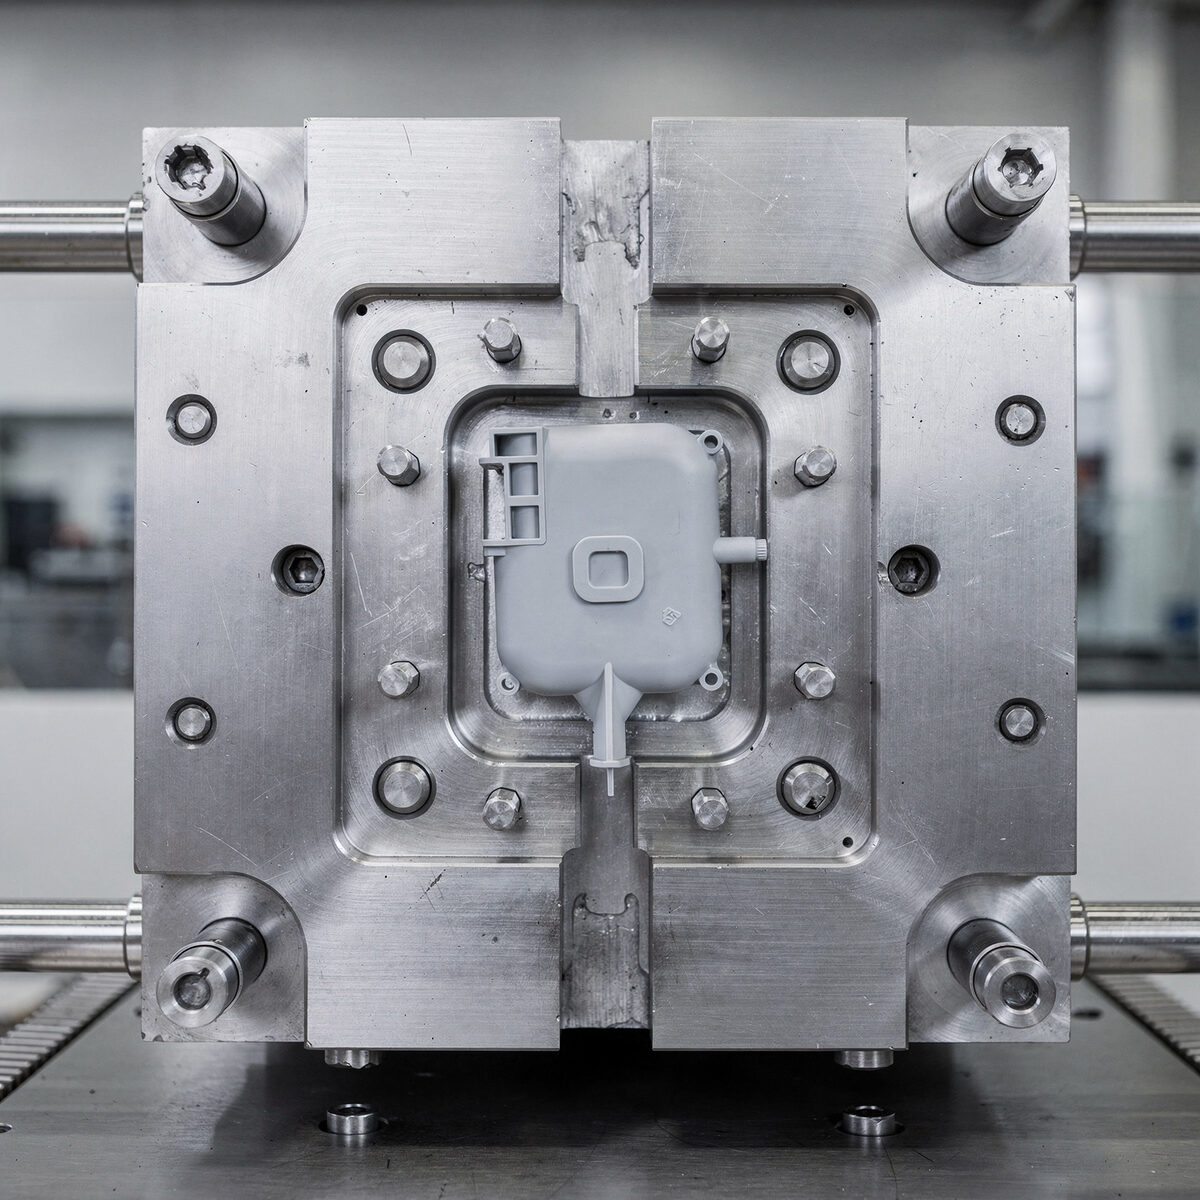
A mold trial, sometimes called T0, T1 and so on, is a short molding run on a press with the agreed resin. It answers three questions:
- Does the tool work mechanically? Slides, lifters and ejection move cleanly; the parting line closes; cooling circuits flow.
- Can it make a complete part? No short shots, no excessive flash, no sink or voids in critical areas.
- Does the part meet the drawing? Dimensions, fit and appearance are measured against the agreed criteria.
The first trial is often about the first two questions. It is normal for it to reveal small issues: a vent that needs opening, an ejector pin mark on a visible face, a dimension that sits at the edge of the tolerance because shrinkage was a little different from the estimate. Later trials confirm the corrections.
Typical Trial Stages
| Stage | Main purpose | What you usually receive |
|---|---|---|
| T0 / first shots | Check filling, ejection and basic tool function | Photos or a few samples, trial notes |
| T1 | First dimensional check against the drawing | Samples, a dimensional report on agreed features, trial process notes |
| T2 and later | Confirm tool corrections | Updated samples and report for the corrected features |
| Final sample approval | Release decision | Approved reference samples, final report, process sheet |
Names vary between shops. What matters is that each round has a stated purpose and a list of what will be checked.
Before the First Shot: Tool Checks
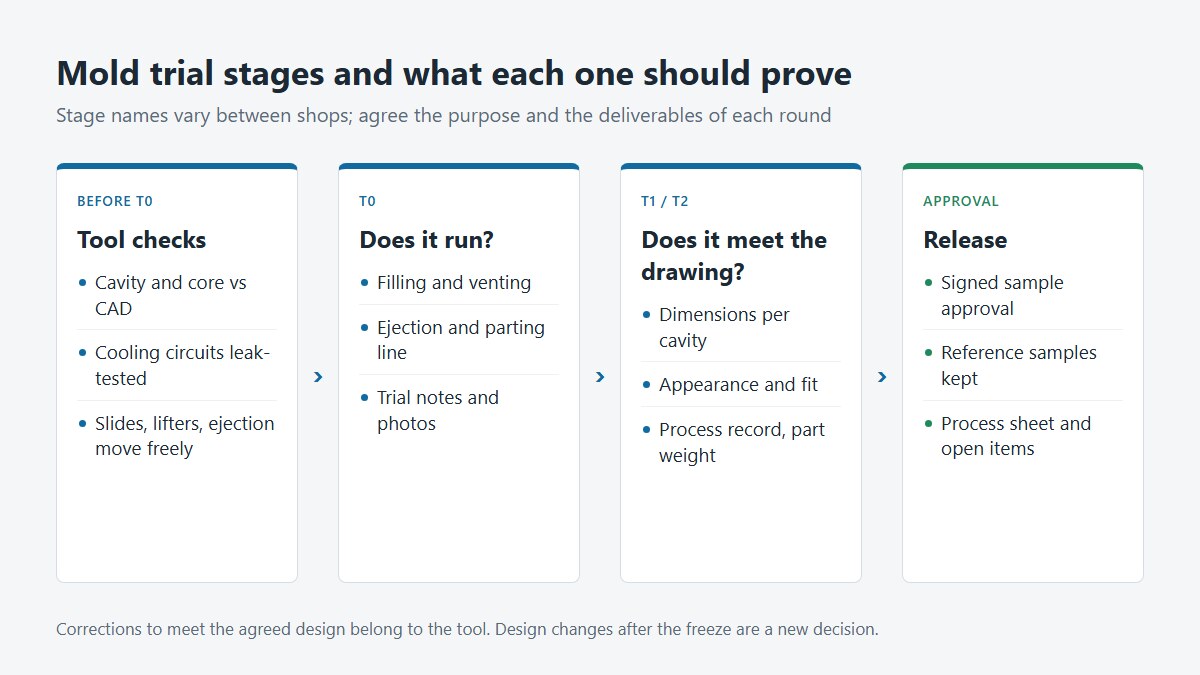
A trial goes faster when the tool has been checked on the bench first. Ask the toolmaker to confirm:
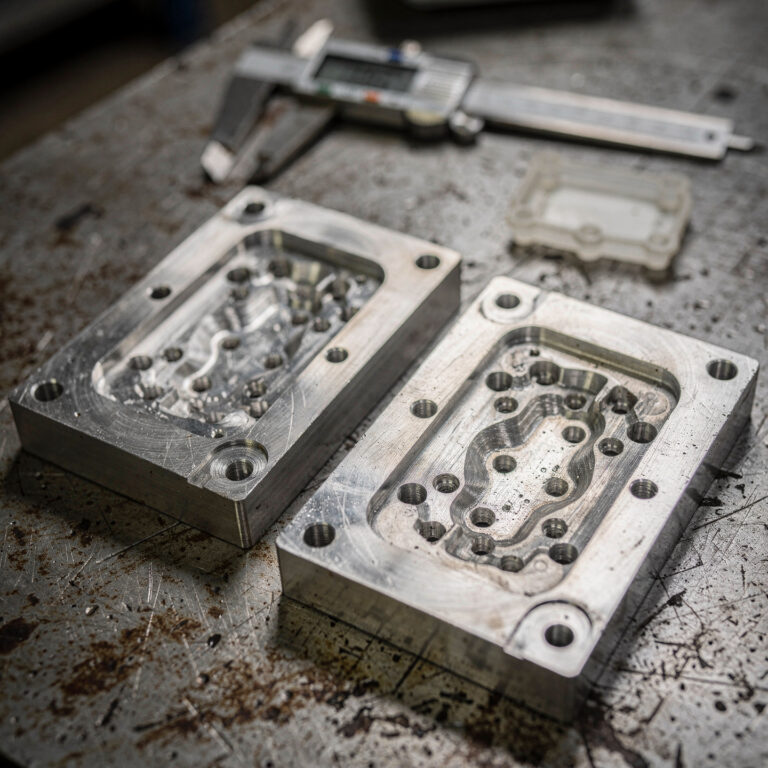
- Cavity and core dimensions against the CAD model on the features that matter
- Hardness of cavity, core and slide inserts, where hardened steel is specified
- Cooling circuits pressure-tested for leaks, with circuits labeled in and out
- Slides, lifters and ejector pins moving freely through their full stroke
- Parting line contact and venting depth as designed
- Hot runner zones wired and responding, if the tool has one
Problems found here cost minutes. The same problems found on the press cost a trial day.
Agree These Before the Tool Is Cut
The best time to define acceptance is at the quotation stage, when everyone still has room to adjust.
- Drawing revision and 3D model. The tool is built to one frozen revision. Later changes are a new decision.
- Resin grade and color. Shrinkage and flow depend on the exact grade. A trial in a substitute resin does not prove the production part.
- Critical dimensions. List the features that will be measured for acceptance, with tolerances that reflect the process. A molded part does not hold the same tolerances as a machined one; general tolerances should follow a recognized molding standard or your own drawing table.
- Cosmetic standard. Which faces are visible, which texture applies, where gate, parting line and ejector marks are acceptable, and how cosmetic defects are judged (distance, lighting, limit samples).
- Sample quantity per trial. Enough parts to measure, assemble and keep a reference.
- Assembly or function checks. If the part must snap, seal or mate, say how that will be checked.
- Who pays for what. Corrections to meet the agreed design are part of the tool. Design changes requested after the freeze are quoted separately.
What to Check on Trial Samples
How samples should be taken
The first parts off a new tool are not representative. Ask for samples from consecutive shots once the process has settled, not a hand-picked handful. For multi-cavity tools, keep parts from every cavity and mark the cavity on each part or bag. Part weight per shot is a quick check: if the weight drifts from shot to shot, the process has not settled and the dimensions will not either.
Dimensions
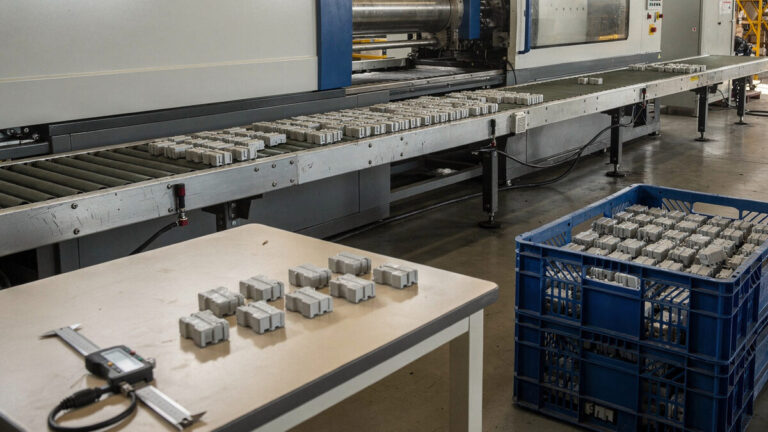
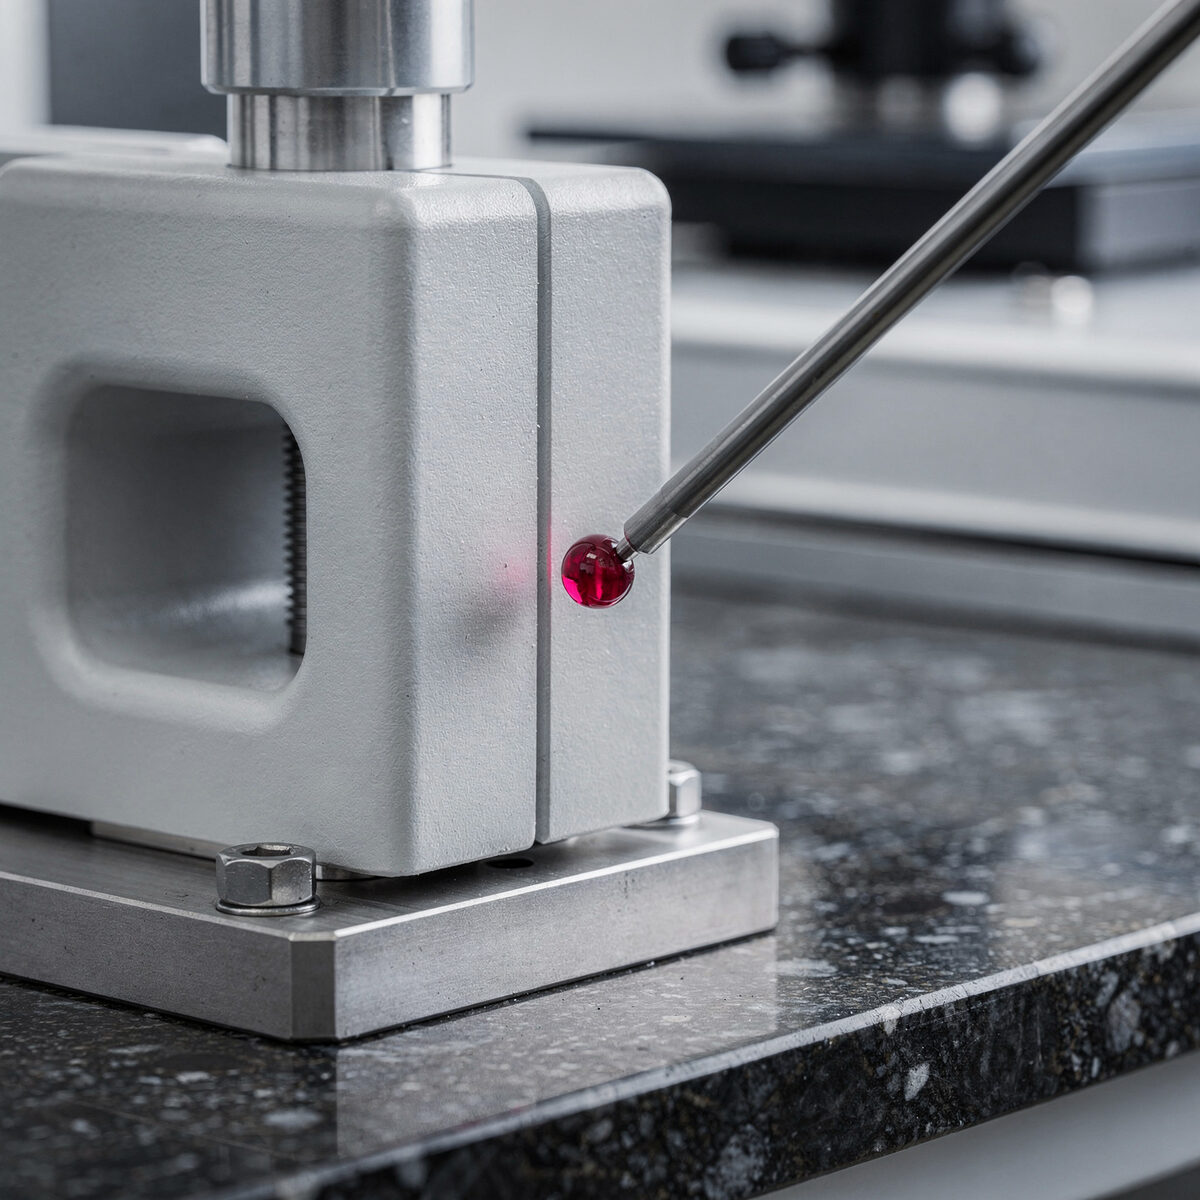
Measure the agreed critical features on several parts from the trial, not one. Cavities can differ, so compare them. Parts should be measured after they have stabilized, since many resins keep shrinking for hours after molding.
Appearance
Look for short shots, flash, sink marks, voids, weld lines, flow marks, burn marks, gloss differences and ejector marks. Judge them against the agreed cosmetic standard, not against a perfect ideal.
Fit and function
Assemble the samples with the mating parts. A part can be within tolerance on every feature and still not assemble well if the tolerance scheme was not designed for molding.
Process record
Ask for a trial report, not just samples. A useful report covers:
- Press used, clamp force and screw size
- Resin grade, lot and drying conditions
- Melt and mold temperatures, injection speed, holding pressure and time, cooling time, cycle time
- Shot and part weight
- A short-shot sequence (parts molded at increasing fill) if filling or venting is in question
- Defects seen, the likely cause, and the action proposed for the next round
- Dimensional results on the agreed features, per cavity
These settings become the starting point for production and for any later transfer.
Joining a trial remotely
Many buyers can’t travel for every trial. Agree beforehand what you will see: a live video of the tool opening and ejecting, measurement of two or three key features on camera, and photos of samples next to the drawing. Then confirm by the full report and the physical samples, which still need to reach you.
Common Trial Problems and What They Usually Mean
| Problem | Typical cause | Usual direction |
|---|---|---|
| Short shot | Insufficient venting, gate too small, low melt temperature | Vent or gate adjustment, process change |
| Flash | Parting line not closing, excessive pressure, worn shut-off | Fit the parting line, adjust process |
| Sink marks | Thick sections, insufficient holding | Process change; sometimes part design change |
| Warpage | Uneven cooling, unbalanced wall thickness | Cooling or process change; sometimes design change |
| Dimension out of tolerance | Shrinkage different from estimate | Steel adjustment on the affected feature |
| Ejector marks on visible face | Ejection layout | Move or modify ejectors |
Some of these are tool corrections, some are process settings, and some point back to the part design. The trial report should say which. For causes and fixes in more depth, see our injection molding defects troubleshooting guide.
Signing Off the Tool
Acceptance should leave you with a short, complete record:
- The approved drawing revision and resin grade
- A dimensional report on the agreed features, per cavity
- Approved reference samples, labeled and kept by both sides
- The process sheet used to make the approved samples
- A list of any accepted deviations, with the reason
- Tool information needed for maintenance and future production
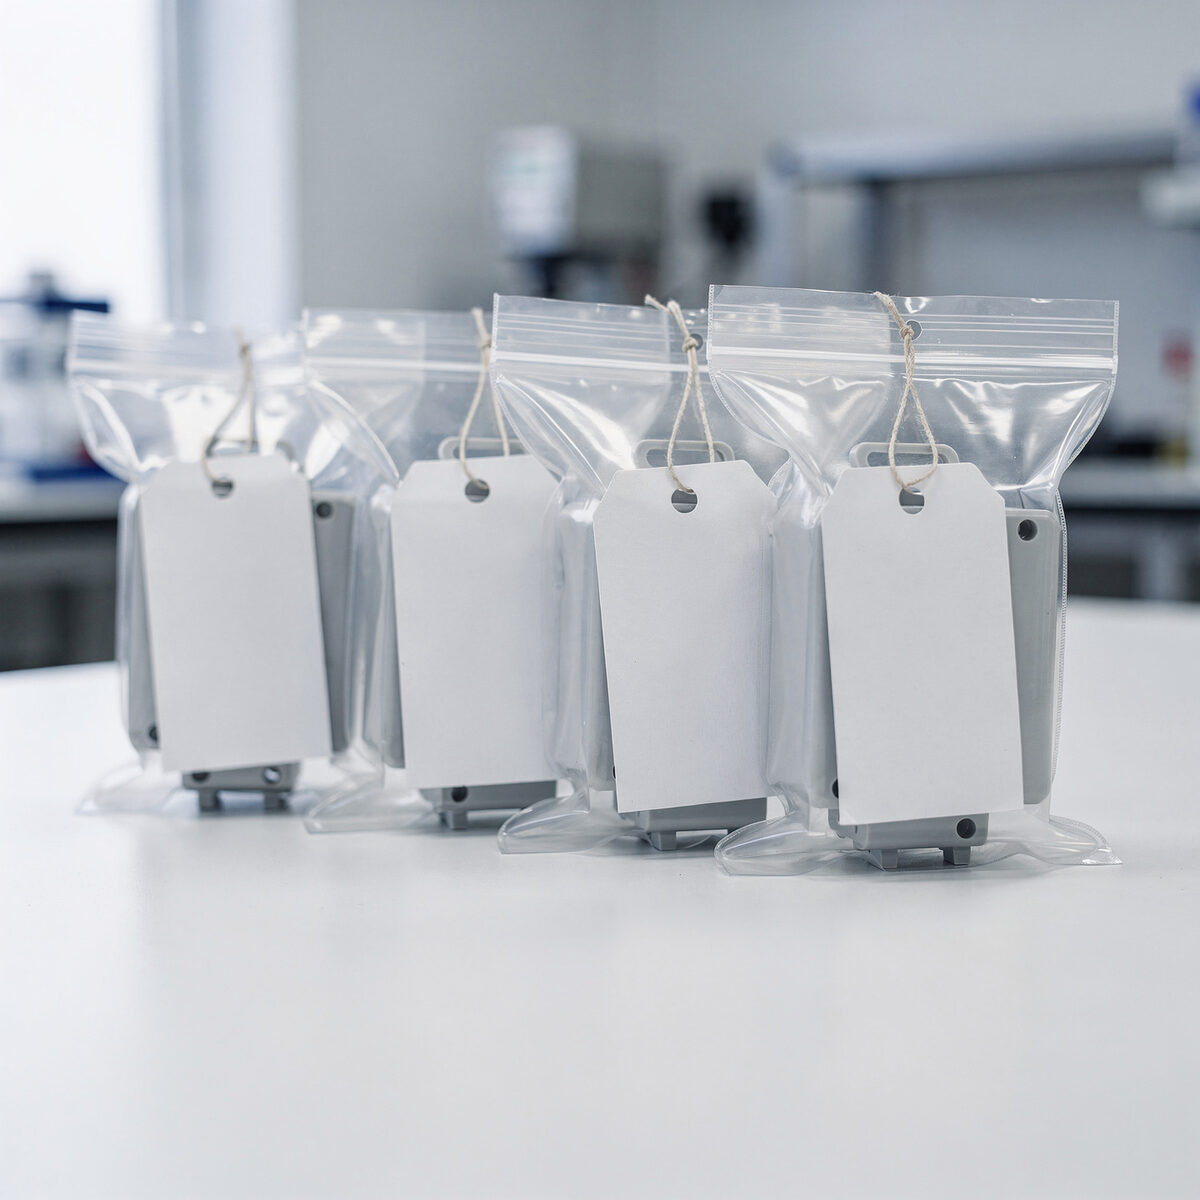
That record is what protects the next production order, a later engineering change, or a move to another molding site.
Conditional approval
Sometimes the tool is good enough to start production while a small point stays open, such as a cosmetic mark on a hidden face or a dimension that is in tolerance but off-center. That can be a sensible decision if it is written down: what is open, who fixes it, by when, and what happens to parts made in the meantime. An unwritten "we’ll fix it later" tends to become the permanent standard.
A trial record you can copy
| Field | Entry |
|---|---|
| Tool number and trial round | e.g. T1 |
| Date and press | Press and clamp force used |
| Drawing revision and resin | Grade, color, lot |
| Sample basis | Consecutive shots after settling; quantity per cavity |
| Shot weight / part weight | Per cavity |
| Dimensional result | Agreed features, per cavity, pass / out |
| Appearance | Against cosmetic standard; defects and location |
| Fit or function check | Mating part used and result |
| Open items | Each with owner and target round |
| Decision | Approve / approve with conditions / re-trial |
| Signed by | Supplier and buyer |
For medical-device parts, these records are also inputs to process validation later. Keeping them complete from the first trial avoids reconstructing them afterwards.
How Othala Approaches Mold Projects
We start with the part, the resin and the production plan, and agree trial and acceptance requirements before the tool is made. Draft, wall transitions, ribs, undercuts, parting line, gating and ejection are reviewed against the functional and cosmetic requirements. Trials are run in the agreed resin, and sample approval is tied to the drawing revision, critical dimensions, visual standards and inspection records.
Project quality work runs under our ISO 9001:2015 and ISO 13485:2016 certified quality management system.
Frequently Asked Questions
How many mold trials should I expect?
For a new production tool, plan for at least two rounds: a first trial to check filling, ejection and dimensions, and a second to confirm corrections. Complex parts with tight fits, multiple cavities or demanding cosmetics can need more. The number depends far more on part design and acceptance criteria than on the toolmaker.
What is the difference between T0 and T1?
Shops use the labels differently. Commonly, T0 is the first shots to check that the tool works and the part fills, while T1 is the first trial where samples are measured against the drawing. Ask your supplier what each stage includes rather than relying on the name.
Can I approve a mold from photos?
Photos help to track progress, but they are not acceptance evidence. Approval should be based on measured samples, an assembly check where relevant, and physical reference samples that both sides keep.
Who pays for extra trials?
Trials needed to correct the tool so it meets the agreed design are normally part of the tool price. Trials caused by design changes after the drawing freeze, or by a change of resin, are usually charged. Agree this in the quotation.
Should trial samples be made in production resin?
Yes. Shrinkage, flow and appearance depend on the resin grade and even the color. A trial in another material can show that the tool works mechanically, but it does not prove the production part.
Conclusion
A mold trial is a test against criteria you set. Freeze the drawing revision and resin, list the dimensions and cosmetic standards that decide acceptance, check every cavity, and finish with approved samples and a process sheet. Do that and the trial rounds tend to stay short, and the release decision rests on evidence, with a record that protects every later order.
Request a DFM Review
Planning a new injection mold or reviewing a design before tooling?
Send us the part model, drawing, resin grade, target quantities and any cosmetic or inspection requirements. Our engineering team can review moldability, gating and ejection, and propose a trial and acceptance plan. Read more about our production mold making and injection molding services, or request a quote.